
Skokie Epoxy Flooring installs epoxy garage floor systems in Skokie, IL, serving surrounding cities including Lincolnwood, Winnetka, Norridge, Schiller Park and River Grove. After 20+ years on garage slabs, we treat the coating as the last step of a job that starts with grinding, testing and repair, because that is where garage floors succeed or fail.
A garage floor takes a beating few interior floors see: hot tires, dripping slush loaded with deicer, dropped tools and the occasional oil leak. The coating has to bond deeply enough to stay put under all of it, and it has to be built thick enough that a winter of salt does not wear through to bare concrete.
We quote after seeing and testing the slab, and the written proposal names the product line, the number of coats and the finished thickness. When you look at the finished floor, you can hold it up against that paper.
Garage Slabs in and Around Skokie
Detached Garages and Unheated Concrete
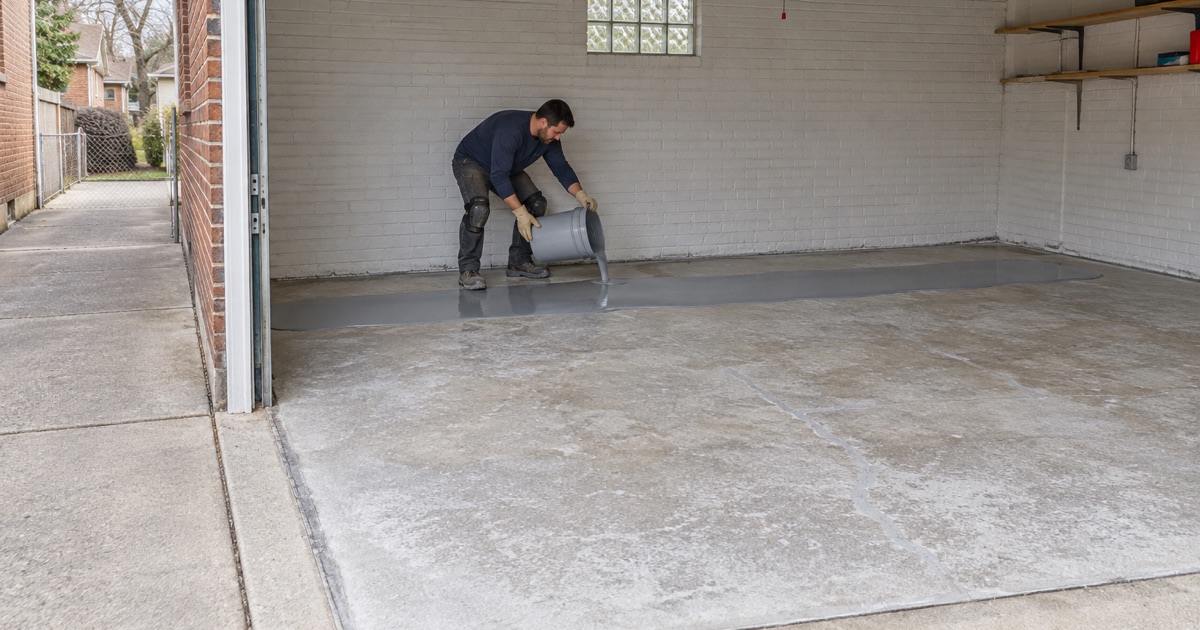
A large share of Skokie houses park in a detached garage behind the house, often a two-car building with no heat. That slab follows the outdoor temperature through the winter, and epoxy cured on cold concrete can stay tacky, cloud over or develop amine blush on its surface.
We read slab temperature and the dew point spread at the surface before coating, not just the weather forecast. If a detached garage is too cold in January, we put the job on the calendar for spring rather than install a floor that never fully cures.
Attached Garages Next to Living Space
An attached garage shares a wall and a door with the house, so dust and odor matter as much as the coating itself. Our grinders and shot blasters run with vacuum extraction at the machine, and we seal the house door before work starts.
We also plan which coats go down when, so the strongest-smelling steps are not curing overnight beside a bedroom. Low-odor and fast-cure topcoats are an option where the household needs the garage back quickly.
Slabs Without a Vapor Retarder
The model residential code allows garage slabs to be poured without the vapor retarder required under heated rooms, under the IRC R506.2.3 exception. Many older garage floors therefore sit directly on soil with nothing to slow rising moisture.
That is why a moisture test is part of every garage quote. We use an ASTM F2170 relative humidity probe or an ASTM F1869 calcium chloride test, and a slab that reads high gets a moisture-tolerant primer or an honest recommendation to wait.
Garage Coating Systems We Install
Full Flake Epoxy With a Polyaspartic Topcoat
Our most requested garage system is a 100% solids epoxy base coat with a full vinyl flake broadcast and a clear polyaspartic topcoat. The flakes hide dust and minor slab flaws, add texture underfoot and give the topcoat something to lock around.
Polyaspartic resists hot tire pickup, holds its color in sunlight from an open garage door and cures faster than an epoxy topcoat. Paired with an epoxy base, it gives a floor build and bond below with toughness on top.
Solid Color and Quartz Systems
For a workshop or a garage that doubles as storage, a solid color epoxy with a urethane or polyaspartic topcoat is a clean, affordable option. Where grip matters more than looks, a quartz aggregate broadcast gives a coarse, durable texture.
Both systems still start with the same grinding and testing as a flake floor. A plain finish is a design choice, never a reason to skip prep.
Why We Skip the Store-Bought Kit Approach
Retail garage kits are typically thin, water-based coatings rolled over a slab that was only washed or acid etched. They look good for a season, then lift where tires sit, because there is little film to wear and little profile for it to grip.
We build garage floors from several full-thickness coats over a mechanically ground surface profile. The material and labor cost more, but the floor is built to be parked on for years rather than recoated every spring.
Our Step-by-Step Epoxy Garage Floor Process
Step 1: Walk-Through, Moisture Test and Written Proposal
We measure the floor, map cracks, spalls and any existing coating, and run a moisture test. The proposal that follows lists every coat, the products and the finished thickness, and it states what the warranty excludes, with moisture named first.
Step 2: Diamond Grinding or Shot Blasting
The slab is ground with diamond tooling or shot blasted to an ICRI concrete surface profile suited to the system. Old paint and sealer come off, and vacuum extraction captures the dust instead of sending it down a floor drain.
Step 3: Crack, Pit and Joint Repair
Cracks are routed and filled, salt pitting is patched, and spalled edges along the door apron are rebuilt. Control joints are either filled or honored, depending on whether the slab is still moving.
Step 4: Base Coat, Broadcast and Topcoat
The epoxy base coat goes down, flake or quartz is broadcast if the system calls for it, and the excess is scraped and vacuumed. A clear topcoat then seals the surface and sets its final texture.
Step 5: Cure Check and Handover
We confirm the cure against the product chart and slab temperature before you walk or park on the floor. You get care instructions and the written cure times, so the first weeks of use do not undo the work.
Cost, Repairs and the Fine Print
What Drives the Price of a Garage Floor
The size of the slab is only the starting point. Grinding off an old coating takes longer than opening bare concrete, a floor with dozens of cracks and a crumbling door apron needs more repair material and labor, and a high moisture reading can add a mitigation primer to the system.
The system itself moves the number too. A solid color floor with a single topcoat costs less than a full flake broadcast under a polyaspartic clear coat, and a thicker build costs more than a thinner one. Because each of those choices is written into the proposal, two quotes can be compared line by line rather than on a single total.
When a Garage Slab Needs Repair or Replacement First
Most garage floors carry some damage: hairline shrinkage cracks, salt scaling near the door, a sunken corner where a downspout drained for years. Those are routine repairs we price into the job and fix before the base coat goes down.
Some slabs are past that point. A floor that has heaved and dropped in large plates, rocks underfoot or crumbles when ground will crack straight through any coating, and we will tell you so before you spend money coating it. Replacing a garage slab is permit work in most villages, and the new concrete then needs time to cure before it can be coated.
Reading the Warranty Before You Sign
Every coating warranty has exclusions, and the biggest one is moisture or vapor pressure from below the slab. That is why the moisture test happens before the price is final rather than after a floor starts to blister.
We walk through what the manufacturer and our workmanship coverage include, what they leave out, and what you can do to keep the floor in warranty. Home jobs over the state threshold also get a written contract under the Illinois Home Repair and Remodeling Act and the Home Repair: Know Your Consumer Rights pamphlet before any grinding begins.
Living With a Coated Garage Floor
Winter Salt and Slush
Brine, rock salt and calcium chloride riding in on tires will not soak into a sealed floor the way they soak into bare concrete. Squeegeeing slush toward the door and rinsing now and then keeps the topcoat looking new through a Chicago-area winter.
Oil, Fluids and Everyday Cleaning
Motor oil, antifreeze and gasoline wipe off a cured epoxy and polyaspartic system instead of staining the concrete. Regular cleaning needs nothing more than a soft broom, a mop and a mild cleaner.
A few habits protect the finish for years. Put a pad under the kickstand of a motorcycle and under jack stands, avoid dragging steel equipment across the floor, and keep a drip tray under any car that leaks so fluids are not left sitting for weeks.
- 20+ Years on Concrete
- Moisture Tested First
- Free Written Estimates